The importance of this drawing session was to draw the model as quick as possible ( maximum time being 5 minutes per model position)
Thursday, 26 March 2015
Life Drawings
The aim of these drawings was to create an outline that looks as real as possible thus round lines were the main element.
Wednesday, 25 March 2015
Lizard painting. Lighting practice
This exercise was ment to improve my skills with shading and giving flat surfaces the impression of shapeness.
Lava Concept in Photoshop
I've used different brushes and oppacities to create the illusion of glowing/shiny lava, and I've also used a variety of layering options to create an Inner Glow or Inner Shadow.
After the exercise, the next challange was to come up with our own character based on the same concepts we were shown in our last excercise .
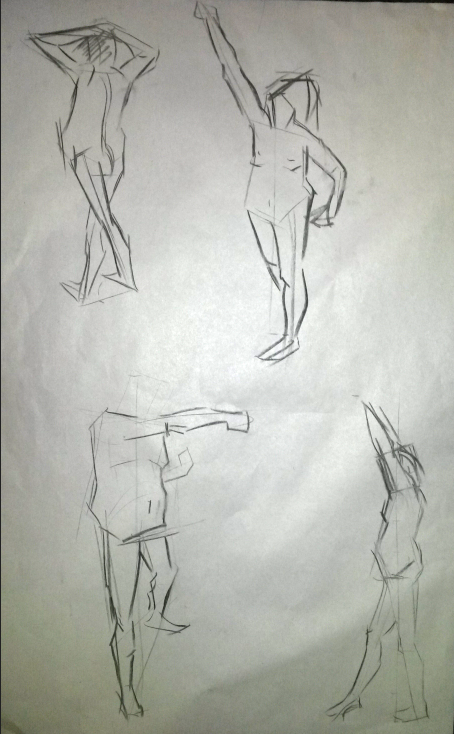
The pictures below are my referencing images that inspired me to create my own character.
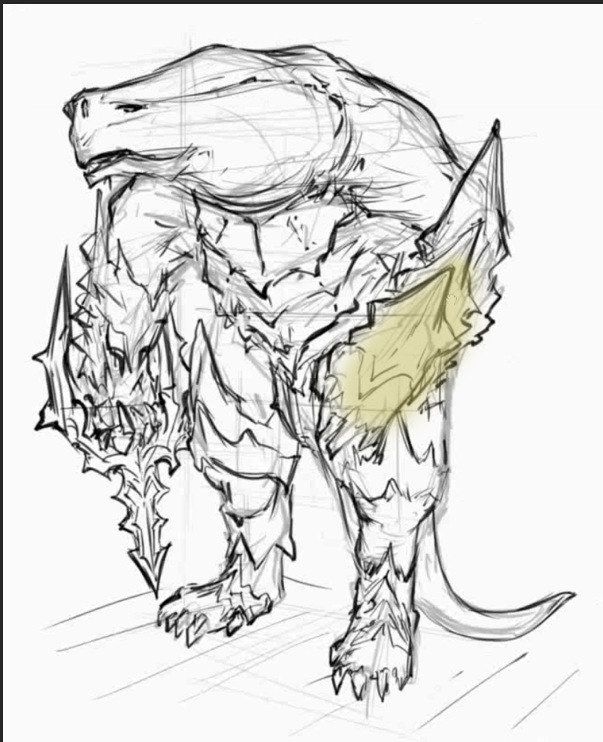
After looking through my referencing images I've managed to show some evolution stages of my character design.
Through adding everything i have learnt in photoshop and using various techniques this was my finalised design of my charcter that i had created.
Paint Over Technique in Photoshop
Using the tools of photoshop such as Scaling, Distorting, Rotating or Wraping, I've added the image below image to the object thus giving it a rustic, worn metal feel.
The next step was to use the paintover technique on a more complex componment such as a character. I decided to choose this vampire.
T-Rex Model in Mudbox
The lesson started with the simple shape of a dinosaur which needed to be textured and sculpted by our own creative preferences.
After adding basic components to the T-Rex, the next step was to give it more detail as seen below.
The details were made by various tools from Mudbox that helped towards making the creature genuine.
My favourite tools were those that created an effect of hard textured skin (rock like) and spikes.
The final stage of my mudbox dinosaur.
Subscribe to:
Posts (Atom)


.jpg)


